Building a Robotic Arm for Cheap: Part 1
This year, I am participating in Science Olympiad. Science Olympiad is basically a yearly competition, where students from around the country compete to do the best in their event. This year I picked robotic arm.
I haven’t done many things like this before. The arm hasn’t been built yet, so this blog will be like progress updates. Each update I will share pictures, possible parts, and later, video of the arm in action.
So, back to the arm. There are a few main components: motors, microprocessor, battery, and frame. All of these fit together to create one cohesive product that can be very efficient, and powerful. I’ll explain them one by one.
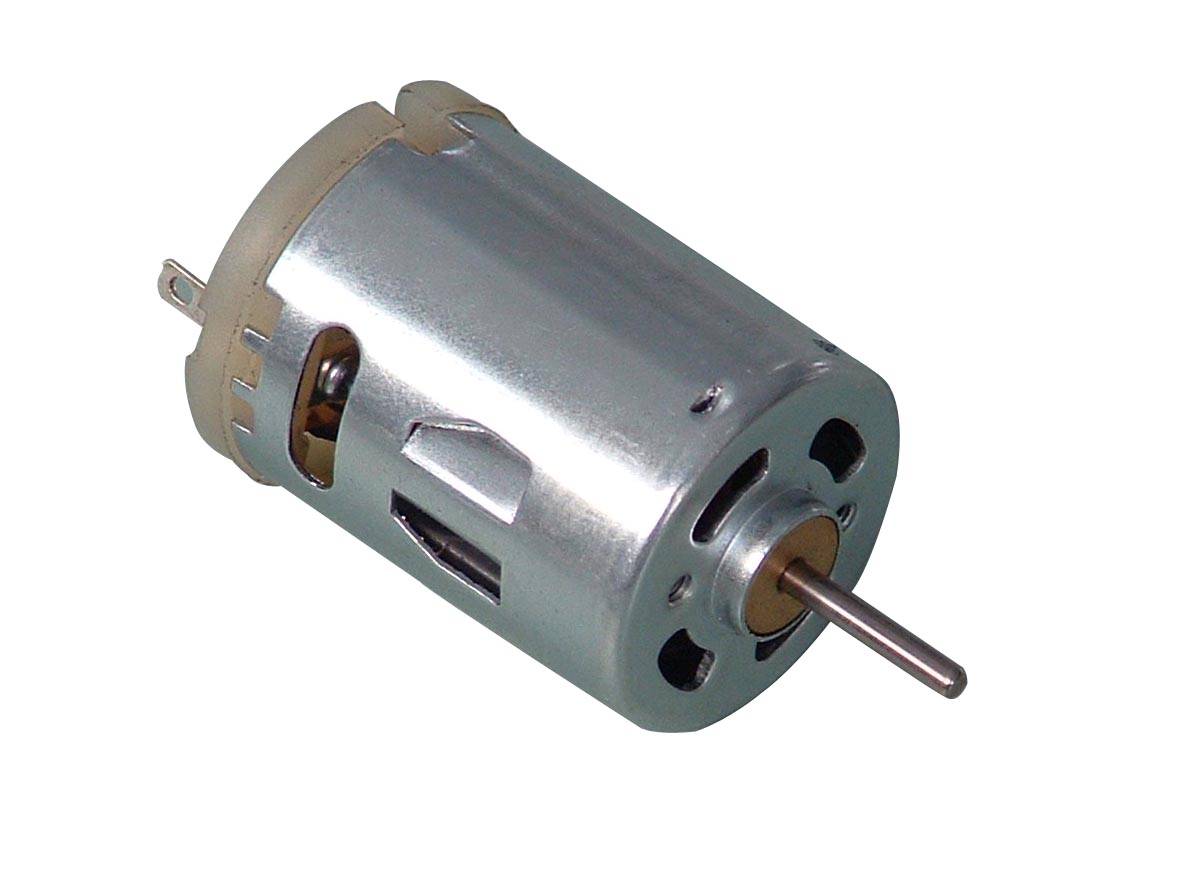
Motors. You have definitely have heard of these and used these in your life. However, what you may not know is that there are different types of motors. The different types of motors are servo, DC, and stepper. DC is the kind most people are familiar with. Give it power and it spins. More power = faster spin. Unfortunately, using this in a robotic arm is very unwieldy. You cannot keep it steady, because it would start to fall down the moment it stopped spinning. They are unwieldy, and not suited to a fragile arm.

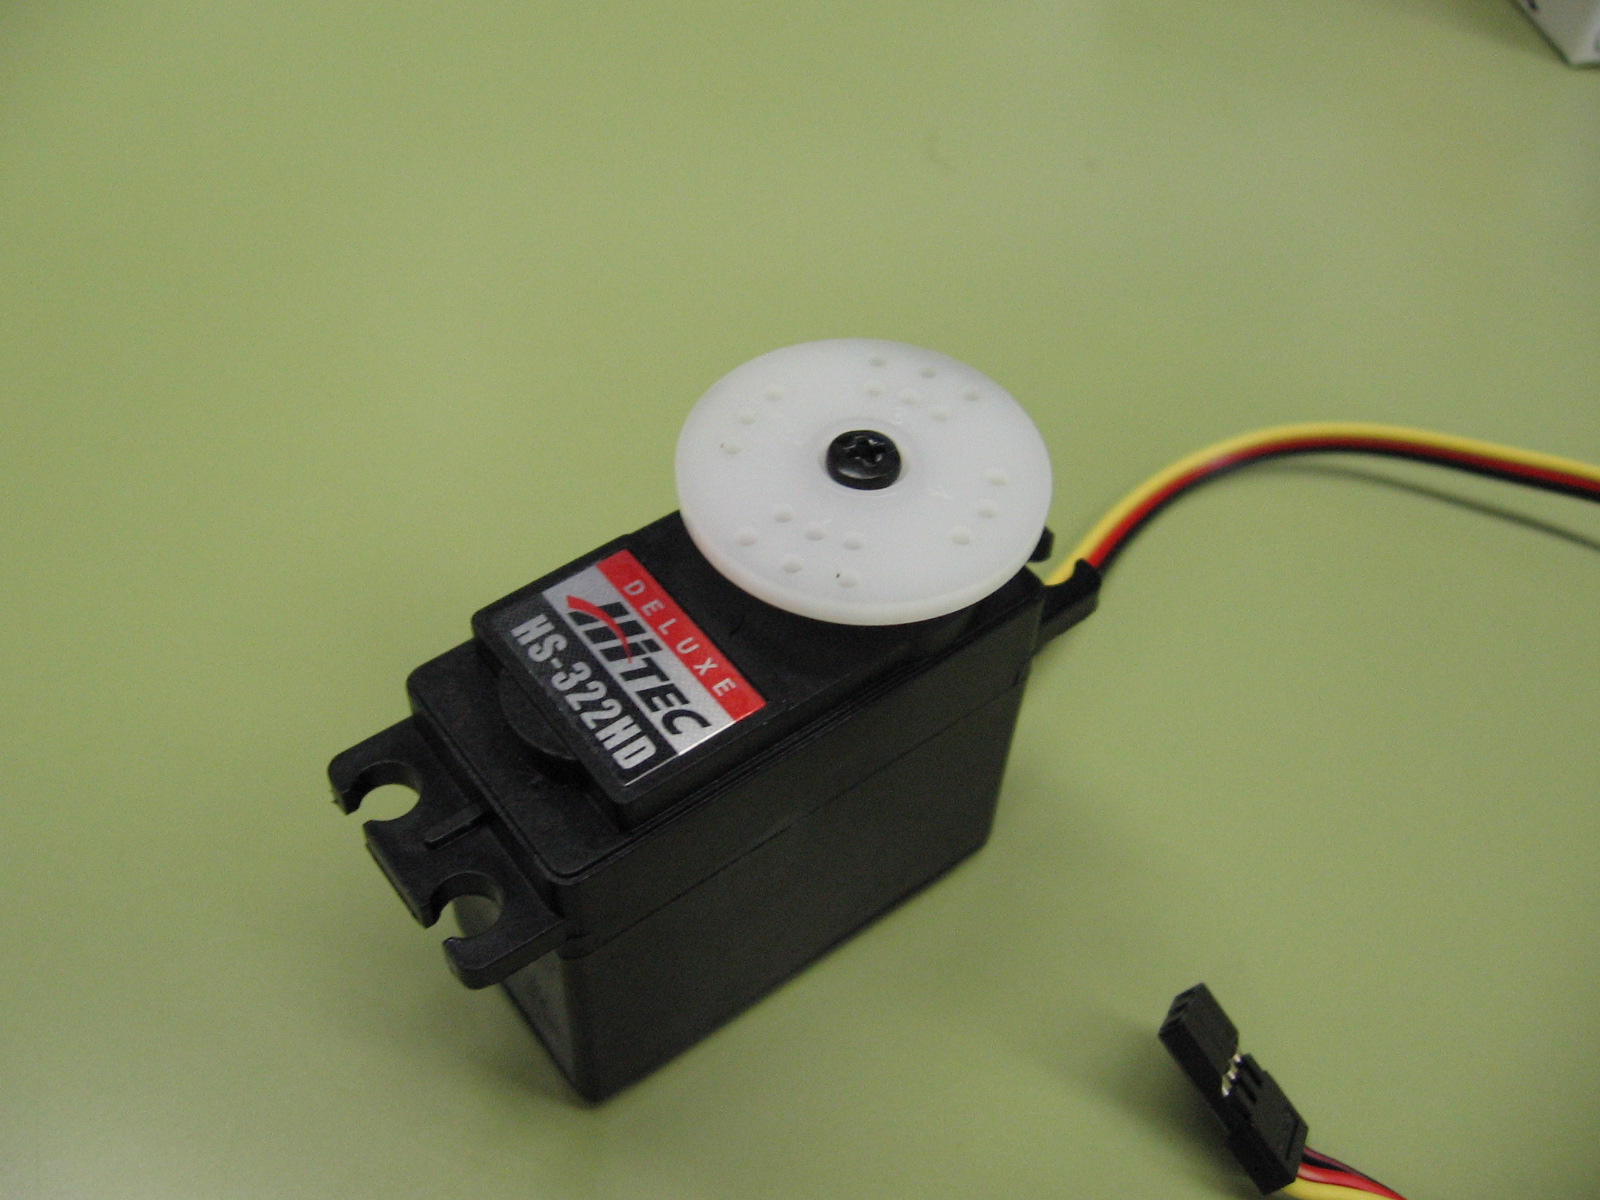
The best motor to use is the servo motor, or servo for short. Servos are good for an arm because instead of giving it power and it spins according to power, you give it power and an angle. This lets you have infinite control over the motor, because while it has power, it will try to stay at that angle, useful when you go to pick something up. Then when the arm dips down, it will be able to hold that position without jittering.

What is a microprocessor? If you have read my previous post, you may recall that a processor is in a computer, and that it does calculations. Well, a microprocessor is just a smaller weaker processor. Why do you need one? To control the position of each motor as it receives data from the controller.
The microcontroller I am using in my arm is the Arduino board. It is cheap if you buy it off brand, and it is reliable. The huge community built around it means that someone else has already done what you might be struggling with. The Arduino board is programmed in a language called Arduino-lang, which is very similar to C. C is an advanced programming language, along with being one of the oldest.
There is one more thing which I haven’t covered quite yet: what a shield is for an Arduino. An Arduino shield is like an accessory that lets the Arduino do more. In our case, I bought a servo shield, which lets me plug in servos without doing and complicated soldiering or splicing. The shield automates the power distribution, and it makes it easier to control the servos.

I will write another post as I get closer and closer to finishing the arm. It will cover the frame, the battery, and some of the code required to use the arm. See you all next post!
